 |
ac9uuw00007230
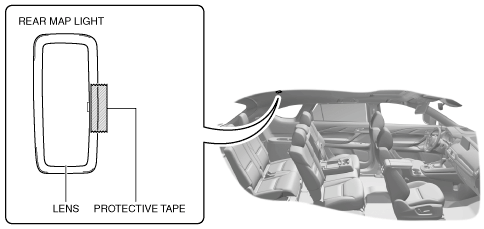
REAR MAP LIGHT BULB REMOVAL/INSTALLATION
id091800903100
Bulb Type
1. Disconnect the negative battery terminal. (See NEGATIVE BATTERY TERMINAL DISCONNECTION/CONNECTION.)
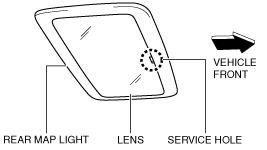
2. To prevent scratches or damage, affix protective tape to the position shown in the figure.
ac9uuw00007230
|
3. Insert the remover tool into the service hole at the position shown in the figure.
ac9uuw00007231
|
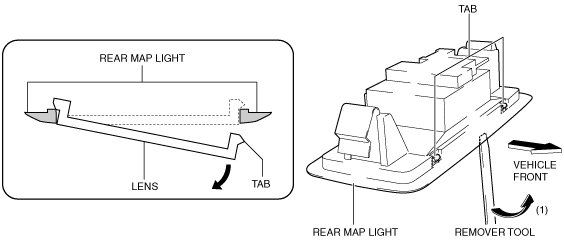
4. Move the remover tool in the direction of the arrow (1) shown in the figure to detach the lens tabs from the rear map light.
ac9uuw00007232
|
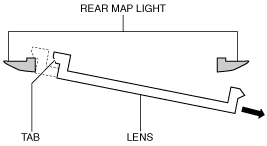
5. Pull out the lens tabs from the rear map light and remove the lens from the rear map light.
ac9uuw00007233
|
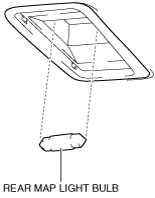
6. Remove the rear map light bulb.
ac9wzw00003482
|
7. Install in the reverse order of removal.
LED Type