 |
ac9uuw00005587
CENTER DISPLAY REMOVAL/INSTALLATION
id092000031300
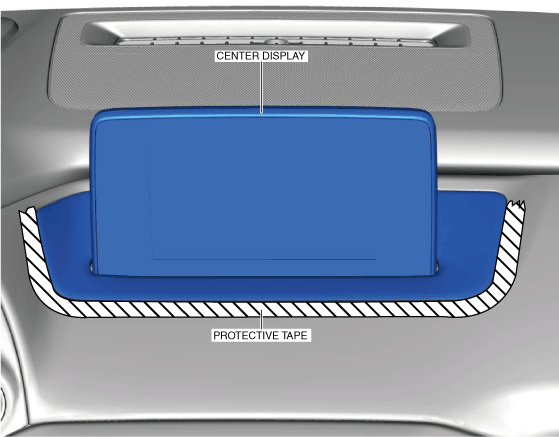
1. Affix protective tape to the position shown in the figure.
ac9uuw00005587
|
2. Disconnect the negative battery terminal. (See NEGATIVE BATTERY TERMINAL DISCONNECTION/CONNECTION.)
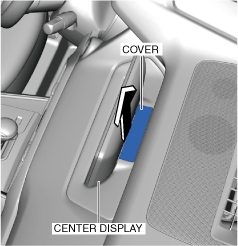
3. Remove the cover shown in the figure.
ac9uuw00005588
|
4. Remove the bolts.
ac9wzw00003639
|
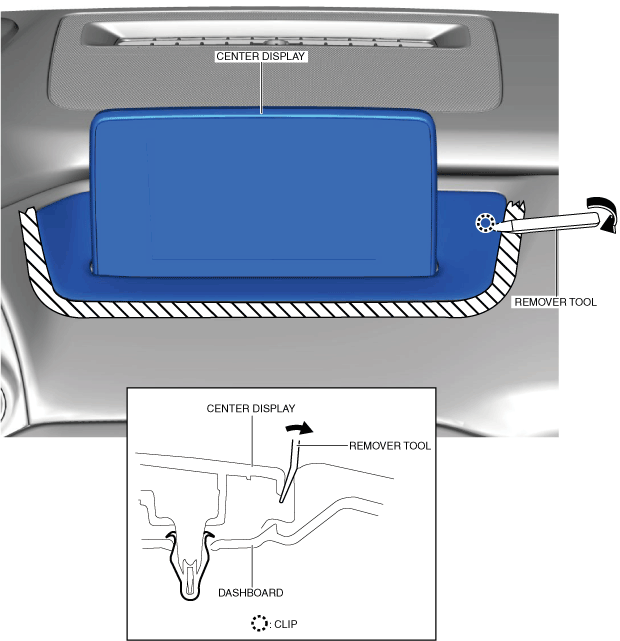
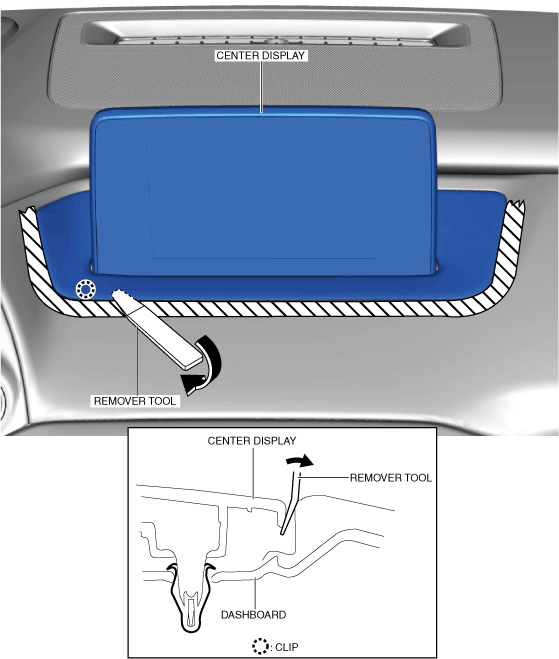
5. Insert the remover tool into the position shown in the figure.
ac9uuw00007898
|
6. Move the remover tool in the direction of the arrow shown in the figure and detach the clip from the dashboard.
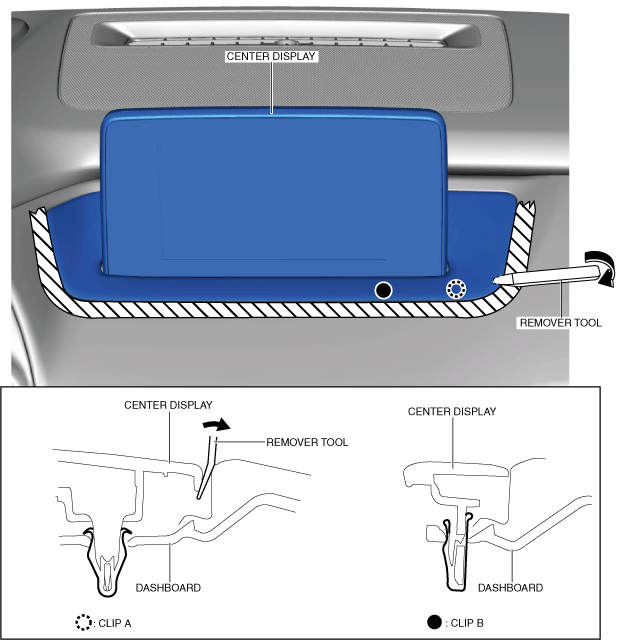
7. Insert the remover tool into the position shown in the figure.
ac9uuw00007899
|
8. Move the remover tool in the direction of the arrow shown in the figure and detach clip A and B from the dashboard.
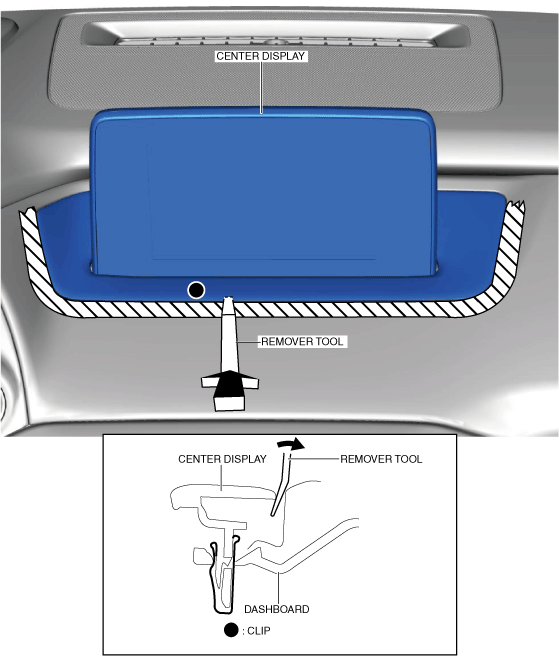
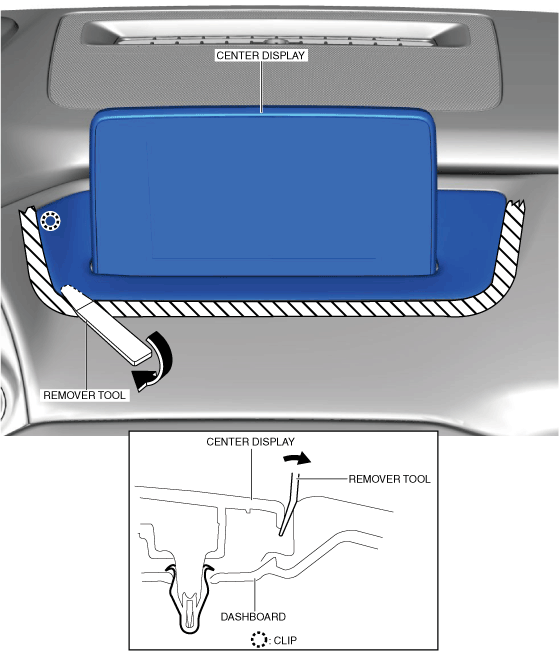
9. Insert the remover tool into the position shown in the figure.
ac9wzw00004111
|
10. Move the remover tool in the direction of the arrow shown in the figure and detach the clip from the dashboard.
11. Insert the remover tool into the position shown in the figure.
ac9uuw00007901
|
12. Move the remover tool in the direction of the arrow shown in the figure and detach the clip from the dashboard.
13. Insert the remover tool into the position shown in the figure.
ac9uuw00007902
|
14. Move the remover tool in the direction of the arrow shown in the figure and detach the clip from the dashboard.
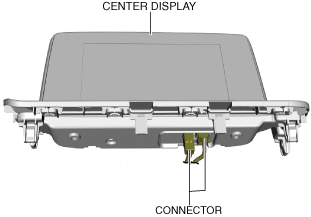
15. Disconnect the connectors.
ac9wzw00004131
|
16. Remove the center display.
17. Install in the reverse order of removal.