 |
ac9uuw00005720
FRONT DOOR REMOVAL/INSTALLATION
id091100520100
1. Disconnect the negative battery terminal. (See NEGATIVE BATTERY TERMINAL DISCONNECTION/CONNECTION.)
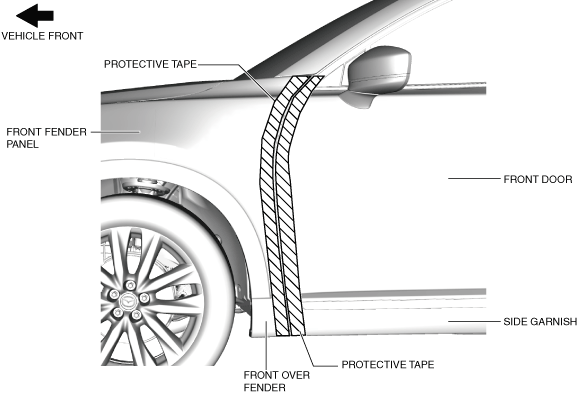
2. Affix the protective tape to the position shown in the figure to prevent scratches and damage.
ac9uuw00005720
|
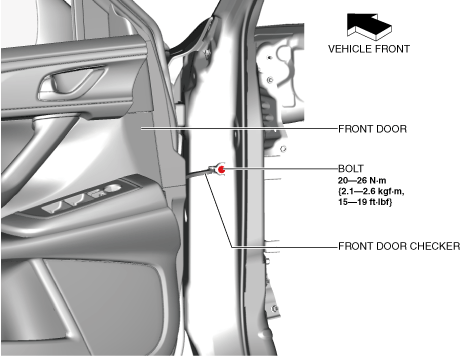
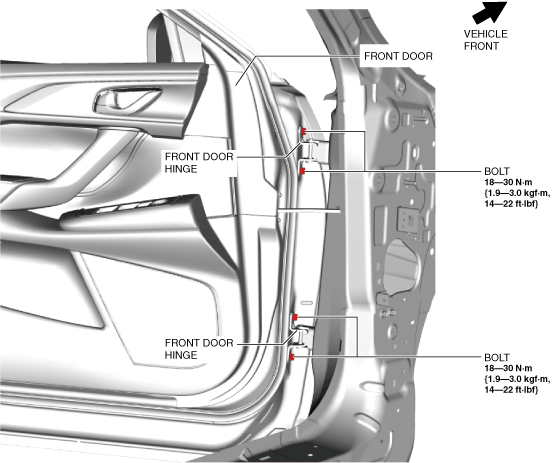
3. Remove the bolt.
ac9uuw00005721
|
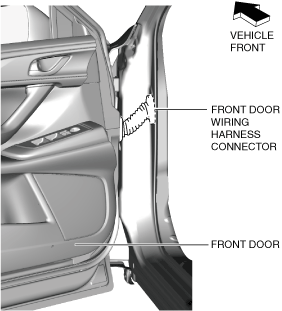
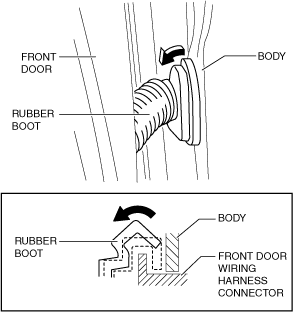
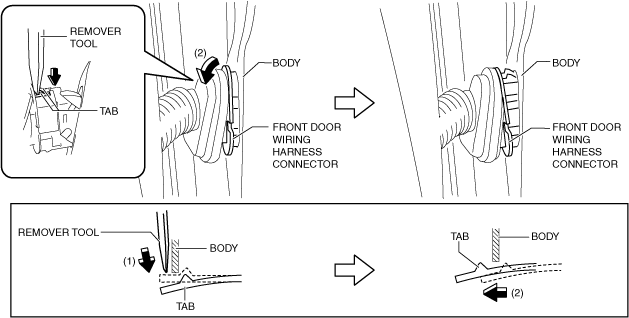
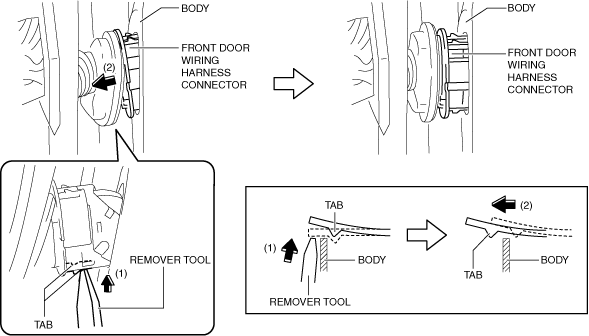
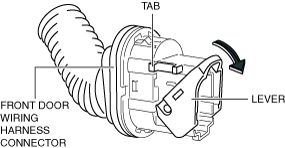
4. Disconnect the front door wiring harness connector using the following procedure:
ac9wzw00003917
|
ac9wzw00004432
|
ac9wzw00004433
|
ac9wzw00004434
|
ac9wzw00004435
|
5. Remove the bolts.
ac9uuw00005723
|
6. Remove the front door.
7. Install in the reverse order of removal.
8. Adjust the front door. (See DOOR ADJUSTMENT.)
9. Perform the 360° view monitor system aiming. (with 360° view monitor system) (See 360°VIEW MONITOR SYSTEM AIMING.)